Projector Focus Uniformity – Common Causes & Easy Solutions
There’s a fact that all electronics have a specific period of validity, and that’s why these devices become faulty with age. Likewise, a smooth-running projector will come up with an error of not projecting a perfect, sharp, and clear image.
How to avoid the Projector Focus Uniformity? A disturbing focus of the projector caused by the Weaved surface, Inappropriate lens, Wrong alignment/brightness level, or Defective prism will result in a blur and fuzzy output image. You can resolve this error by adjusting the lens/prism, fixing its position, smoothing the screen, and balancing the brightness level from settings.
For a better understanding, let’s get straight into it!
What is an uneven focus in a projector? (For Beginners)
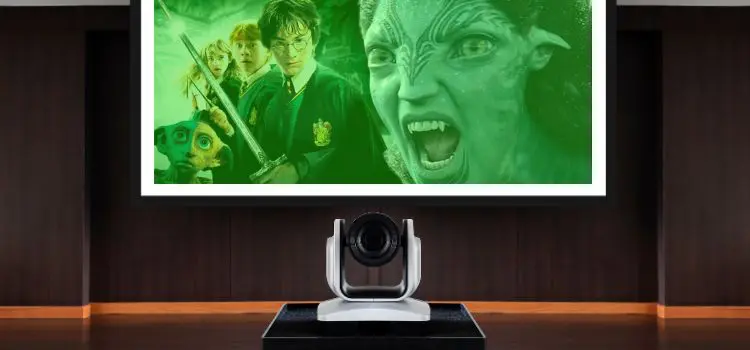
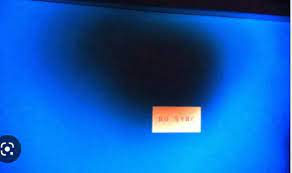
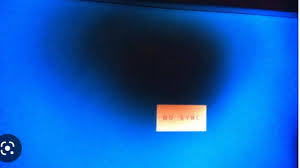
The faint or dim section of the picture on the screen that appears when you turn on the projector indicates the uneven and disturbing focus of the lens used inside a projector.

“Mostly this problem occurs in the central area of the screen, but the corners also get affected sometimes.”
Also, when a text is written on that faulty area, a blur and fuzzy output will obtain. So, whenever fragile lining along the subjects on the screen or the inappropriate brightness level seems to appear, then remember that the problem is with the wrong adjustment of focus.
Which will result in a soft, faint, and dim area of an image instead of sharp and clear output. If you want to know why you are facing this issue, then read the causes carefully given below!
Top 10 Causes of Variations in the focus of the projector – Must check the 7th one!
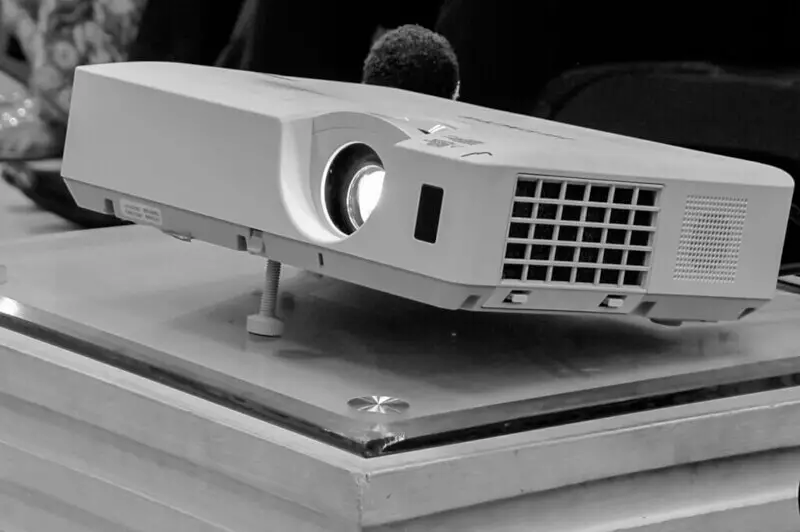
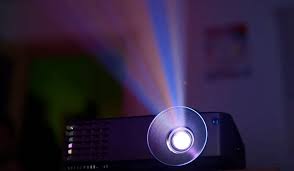
1. Problem in lens:
The lens is the main part of the projector, whose purpose is to emerge a great image onto the screen. But a slight problem or defect can cause a dim, blurry, skewed, and distorted image.
So, if you are facing a faint area over the projecting image, then your lens must be improper for the projector, or the lens must be dirty.
When the lens is unsuitable, you must buy a new one that will be set best for your projector and manage the factors of zooming in and out.
Moreover, The output becomes blurry in some specific areas sometimes because of the dust or stains of your fingers over the lens. This can also happen when there are scratches over the lens.
That’s why a neat, clean, sharp, and the most suitable lens for a projector is one of the essential factors.
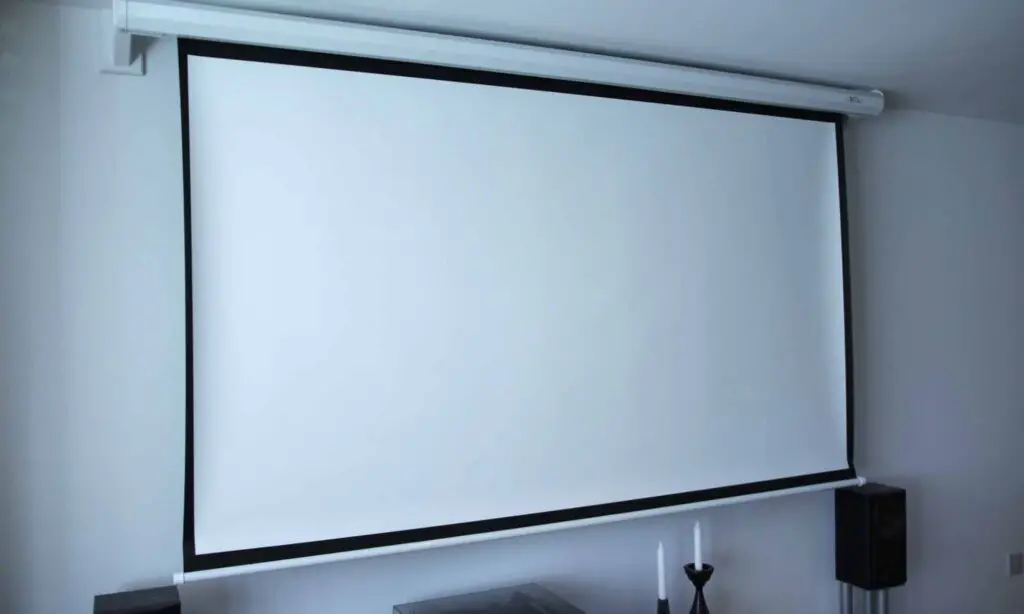
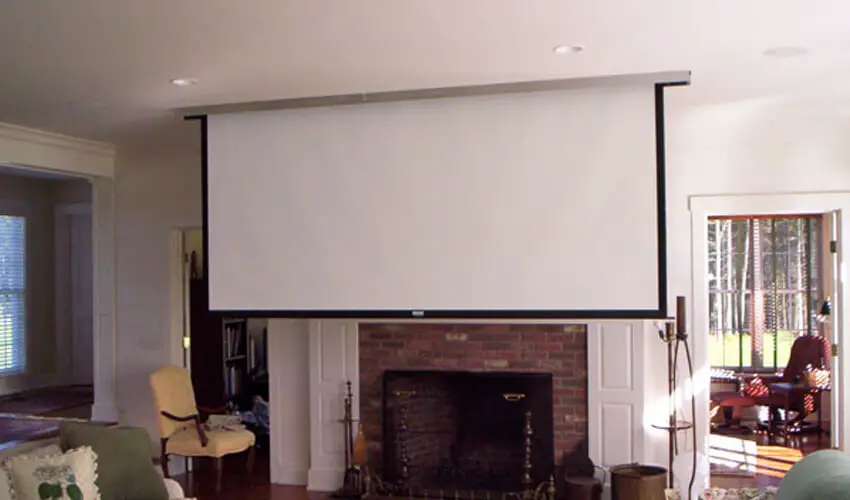
2. Imperfect screen:
A weave or a rough textured surface can also disturb the focus of the projector and create a pixelating output that is blurry and slightly submerged at a particular section.
This is because the surface of the screen has tiny little streaks of particles, and if these specks are rough and in uneven order, then the light will not reflect properly. So, a woven screen will pixelate the grids, and thus a blurry and faint picture will pop up.
That’s why a smooth, shiny surface is an essential requirement of a projector for a sharp and fully focused image. And if you are projecting over the wall, then the same scenario will applicable. The wall isn’t smooth enough to reflect a hundred percent light coming from the projector, and that’s why the image isn’t sharp greatly.
3. Inappropriate Brightness level:
One of the major causes of error in the focus uniformity of the projector is the abnormal brightness level of the projector. Your projector must have an 85% of brightness level; exceeding or decreasing this intensity can cause a blurry or scattered image on a particular surface.
4. Overheating:
When the outside atmosphere is too hot, and the projector is working for hours, then it will affect the lens and the “internal functioning,” and as a result, a defocused and blur image will appear.
Sometimes this extremely hot error can “melt the chips,” which can destroy the coloring system, and thus, some pixels get dead, and black spots appear over the screen, but the mostly fuzzy effect appears.
5. Too cold Temperature:
As the hot temperature affects the smooth working of the projector, the cold temperature can also ruin the fluent focusing feature.
The too-cool temperature isn’t good for the perfect working of the projector because it will contrast the lens used in it, which means the lens of the projector is getting little converging, and as a result, the focus will be distorted again.
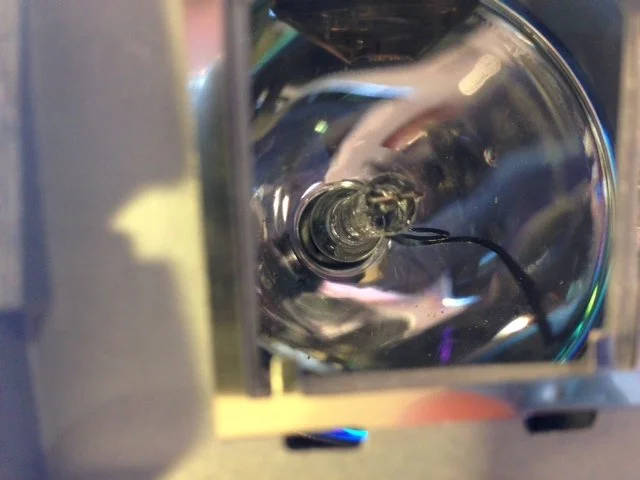
6. Defective Prism:
After checking the lens, screen, and brightness level, If you’re still facing the defocusing issue in some area, then the root of evil might be a prism. We know, a prism works to refract different lights with different wavelengths altogether.
That’s why if the prism is defective or is placed in the wrong way, then the resulting output has an issue with the clearance of the image.
As some lights, rays will not project the way they suppose to be, Because of the wrong aligned prism, and thus fragile outline on the screen will appear.
You can also observe this when the grids appear on your screen; the different colored lining will form and disturbs the focus.
7. Wrong alignment:
Alignment is also one of the most important factors that directly affect the sharpness and focuses uniformity of the projector.
If your projector is slightly up or down from the ideal alignment, then it’ll disturb the output, and a half-faint or some blur patches will appear on the screen. The alignment of the projector is connected to the keystone and the number of defects directly.
That’s why you have to manage the “appropriate angle” for the perfect and clear projection on the screen, Otherwise, your output image will be blurred from one side.
8. Abnormal resolution of the projector:
The projector’s resolution is one of the main factors which is controlling the clearance of the output by managing the pixels.
You can use a high-quality resolution wire that will conduct a proper signal, and thus you can avoid the blur patches over the screen. When this system isn’t working properly, then a pixelating and a picture having soft edges will be formed.
9. Distance of projector:
The distance of the projector from the screen directly affects the throw rate of the projector. So, if you put the projector far behind the screen, then a blur, faint and soft image will form.
This is because of the abnormality of the throw rate of light from the projector, due to which the light got scattered greatly until projected into the screen.
And in case you put the projector too close to the screen, you are still going to face the focusing issue because the projector isn’t in a condition to project the proper, aligned, perfect, and clear image.
10. Unbalanced Zoom-In or Zoom-Out:
One of the main reasons for getting a blurry effect on your output image is unbalancing in the zoom in/out of the focal length of the projector’s lens.
When you zoom in on the picture more than the screen size, then obviously, you are going to see a pixelated, displaced, and faint.
And if you zoom out the focus exceedingly, then the picture will be sharp enough due to the contrast ratio that you won’t see anything.
That’s why this procedure has to be in balanced proportion. Hope so you’ve got the reason behind this focusing issue?
Now stay here to understand the solutions of these causes completely!
Best 10 ways for the projector’s fluent focus uniformity? (Solutions)
1. As there are many models of projectors, So the gadgets used in them also vary from version to version and brand to brand. That’s why get a perfect lens that will set best according to your projector’s model. And try to make a purchase of high-quality lenses to project a high-caliber image.
In case it is dirty, then clean it properly so that no stain or dust sticks to it and won’t affect the working of the projector. You can buy lens cleaning wipes at a reasonable price to make the lens clear and dust-proof.
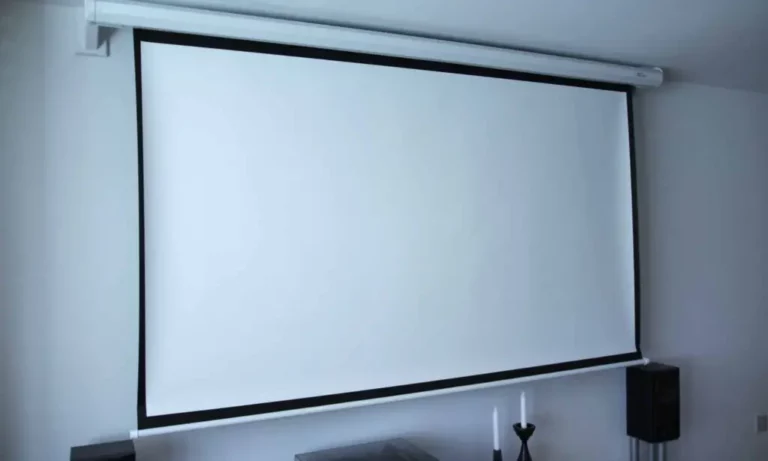
2. Make your screen as smooth as you can! Because the screen is going to project the image, If it isn’t good enough and it is reflecting the light properly, then a faint or fuzzy picture will be shown.
Make sure to use the screen given along with the projector. In case you are projecting outdoors, then you have to make your wall smooth and shiny for a clear and sharp output image.
Otherwise, the light will not reflect fully, and an uneven and distorted image will form, which can ruin your whole presentation.
3. Check whether the prism is perfectly settled inside the projector or not. Sometimes the prism is not fixed properly, and that’s why the fragile and fuzzy colored light appears along with the subjects projecting on the screen.
Which causes the disturbing focus and, thus, the uniformity of the projector’s focus becomes disturbed. You can do this by opening the projector and taking the lamp box out of it, and check the prism to see whether it is fully attached or not.
Those who don’t know how to proceed can seek help from the company if they have a warranty.
4. Adjust the brightness and contrast ratio for the focus and sharpness uniformity. These factors also depend upon the version of the projector, so choose a standard brightness level or change it from the settings.
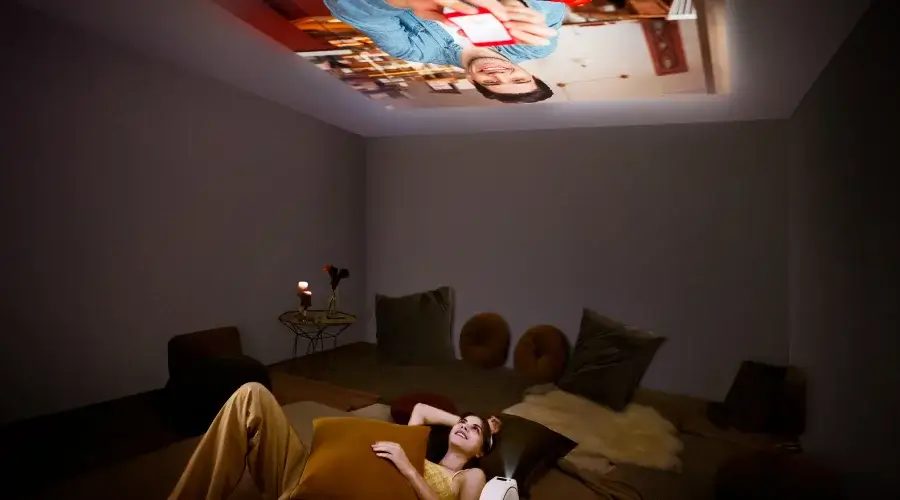
5. Align your projector in a perfect way. You can do this by adjusting the projector up to 90 degrees, dead straight towards the screen into the horizontal axis efficiently.
This is the ideal angle to project an image and to avoid the blur and softer patches on some sections of the screen!

6. If you’re using a table/shelf projector, then you have to maintain the distance properly. For example, Using some calculations, a 100-inch projector screen requires a distance of 119 inches or 3m from the projector for clear images.
7. This issue can also be resolved by adjusting the focus from the dialer of the projector. When the left side seems to be in focus as compared to the right side of the projecting screen, then you have to move the dialer along the clockwise direction and vice versa.
This will help you to resolve the matter greatly!
8. Adjust the resolution by checking it from the settings because these features vary from projector to projector. But in common, the resolution is approximately 800 x 600 pixels for the SVGA (Short Video Graphic Array) for the projector’s efficient working.
So if you want perfect and cost-friendly SVGA resolution cords, then check this direct link.
9. You can prevent your projector from overheating by normalizing the outside temperature or by turning off the projector for some time.
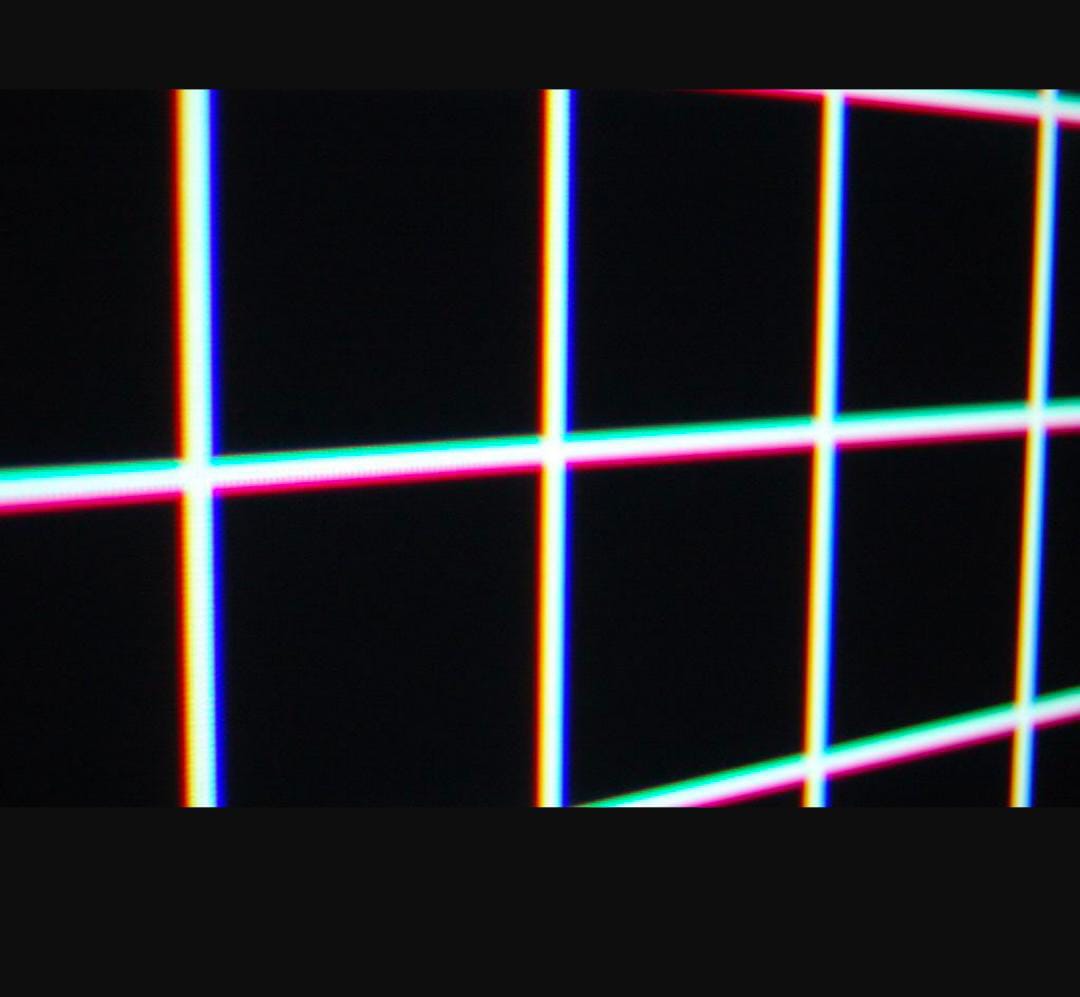
A trick to detect that your projector is facing focusing issues:
There’s a simple method that will confirm that your projector is going through the
focus adjustment faults. This incredible trick can help you when you can’t recognize the blur effect on the screen.
- Take a “White plain printer paper.”
- Then start up the projector; when your projector turns on, the grids will be shown on the screen.
- Put this plain white sheet at those grids on the screen, and you’ll see the defect.
- Basically, it just magnifies the fault, and you can easily see now whether the image is pixelating, fainting, or different colored lines are shown.
And thus, you can easily detect whether there’s a focusing issue or not.
Improve Sharpness & Uniformity of projector By Cleaning Lens:
You can make the sharpness and clearance of the projected image by cleaning the appropriate lens of the projector, normalizing the resolution and brightness level from the settings, and perfect alignment of your projector on the bases of the screen.
For proper understanding, read the article carefully!
Conclusion:
At last, Whenever the projector emerges, an image whose some parts or patches or half side is blurred totally or is just fainting, the understanding that the fault is with the focus of the projector. So, don’t expect a clear and sharp image until you haven’t fixed the focus of the projector’s lens.
As we’ve explained that the major causes of Projector Focus Uniformity are the defective lens, unfair prism, wrong alignment, and abnormal resolution and brightness level.
Read the causes and solutions we’ve compelled in detail for your ease and apply the most suitable method that fits best in your scenario!